
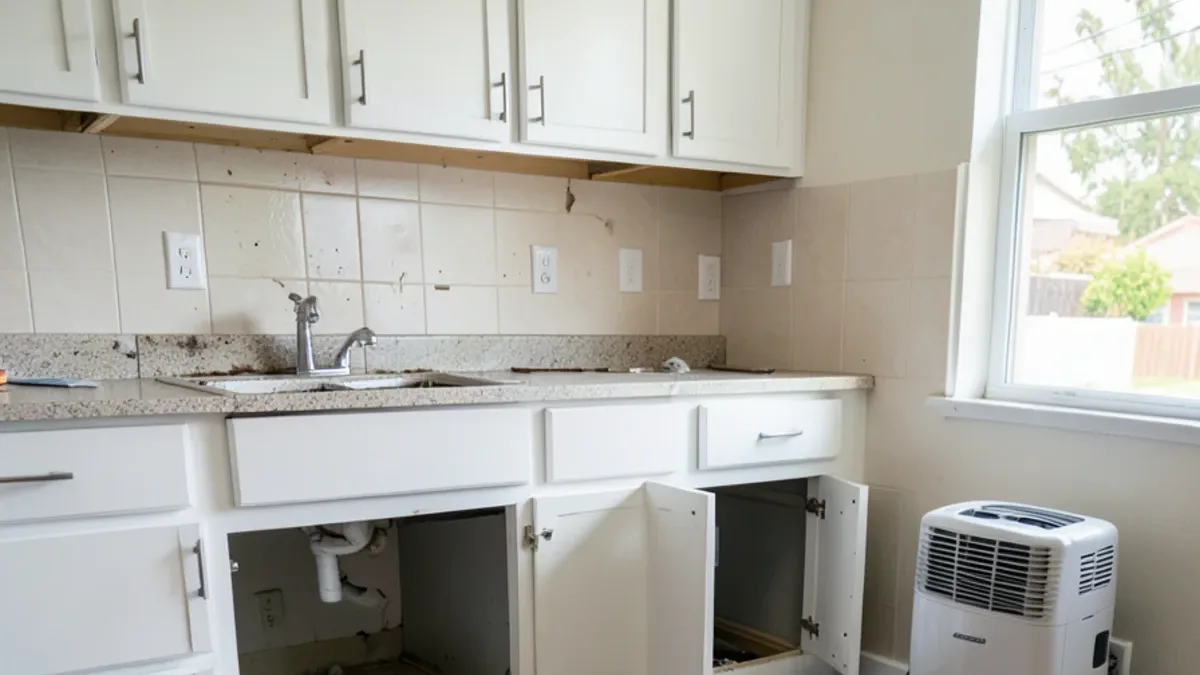
What should you do in the first hour after a kitchen leak?
- Stop the water. Turn the small oval valves (angle stops) under the sink clockwise; the dishwasher supply is usually there too, and the refrigerator line often has its own valve behind the fridge or under the sink. If a valve fails or you cannot find the source, close the main shut-off where the water line enters the house or at the meter.
- Make it electrically safe. If water has reached outlets, the dishwasher or the fridge, switch off those circuits at the breaker panel. Do not stand in water to do it; if that is the only way, call the utility or an electrician.
- Document before you clean. Take wide photos and close-ups of the floor, cabinet bottoms, toe-kicks and the leaking part, plus a short video walking the room.
- Remove what you can. Empty the sink base and lower cabinets, lift rugs, and mop or towel standing water.
- Call a plumber to repair the source. Keep the failed hose, valve or fitting; your insurer may want to see it.
Want to see the options in person?
The Sherman Way showroom has cabinets, counters, tile and flooring on display side by side. Call before you come and say what you're working on.
- Showroom at 13259 Sherman Way, North Hollywood
- 20 Google reviews
- BBB rating A+
- Cabinets, counters, tile & floors in one place
Who should you call, and in what order?
| Who | When | What they do |
|---|---|---|
| Licensed plumber (C-36) | Right away | Finds and repairs the leak; can test for hidden supply or drain leaks |
| Your insurance company | Same day | Opens a claim, explains coverage and may send an adjuster or approve a mitigation vendor |
| Water-mitigation company | Same day or as soon as possible | Extracts water, sets dehumidifiers and air movers, measures moisture inside cabinets, walls and subfloor |
| Mold professional | Only if growth is found | Assesses and removes mold under proper containment |
| Showroom and installer | After drying is confirmed | Matches or replaces cabinets, counters, tile and flooring |
Why do the first 48 hours of kitchen leak damage matter?
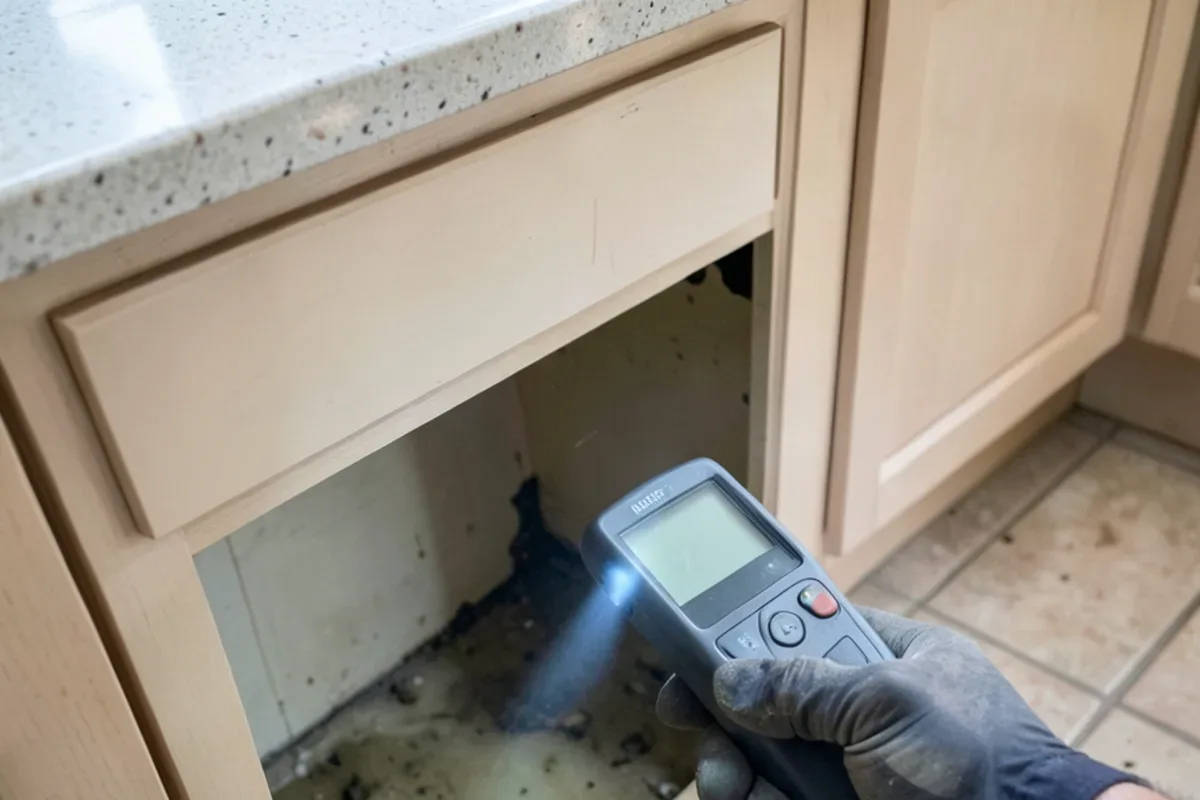
The EPA advises drying water-damaged materials within 24 to 48 hours to prevent mold growth. Kitchens make that hard because water runs under the cabinets, soaks the toe-kick and spreads beneath flooring where you cannot see it. A mitigation crew uses moisture meters and may remove toe-kicks, drill small holes or lift sections of floor to get air underneath.
Clean water from a supply line is the easiest case. A dishwasher drain or a backed-up sink carries food waste and detergent, so porous materials it soaks are more often removed than dried.
How do you know the kitchen is dry enough to rebuild?
“It feels dry” is not the test. Water-mitigation companies generally work to the IICRC S500 standard, which judges drying by comparing moisture readings in wet materials with readings from the same materials in an unaffected part of the house. Drying is done when the wet areas match that dry reference, not when the surface looks normal.
Spots that hide moisture in a kitchen
- The wall cavity behind the sink base, where supply and drain lines run and water wicks up the bottom of the drywall.
- The subfloor under the cabinets. If the original floor was laid up to the cabinets rather than under them, the cabinets may have to come out for the subfloor to dry.
- Under the dishwasher and refrigerator, which sit directly on the floor and trap water beneath them.
- The crawlspace or the ceiling below in a raised-foundation house or an upstairs condo, where the leak may have spread further than the kitchen floor shows.
What to ask for before cabinets and floors go back
- A drying log with dated moisture readings for each affected area
- Final readings compared with the dry reference, in writing
- Photos of any removed toe-kicks, drywall or flooring, with measurements
- A note on whether mold was found and how it was handled
- Confirmation from the plumber that the source repair is finished and tested
With those documents in hand, replacement can be ordered with confidence that new cabinets and floors are not going over a damp subfloor.
Which cabinets and floors can usually be saved?
| Material | Usual outcome after a leak | Why |
|---|---|---|
| Particleboard cabinet box or shelf | Often replaced | Swells and crumbles once wet, and does not shrink back |
| Plywood cabinet box | Often saved after drying | Holds its shape better; check for delamination |
| Solid wood or painted doors | Usually saved | May need refinishing if the finish clouds or peels |
| Ceramic or porcelain tile | Usually saved | Tile is unaffected; grout and the subfloor beneath need checking |
| Waterproof vinyl plank | Often lifted, dried and reinstalled | Planks resist water, but water trapped underneath must dry |
| Laminate | Usually replaced | Core swells at the edges |
| Solid hardwood | Sometimes saved | Can cup, then flatten after careful drying; may need sanding |
The water-damaged cabinets and water-damaged flooring pages go into replacement options for each material.
After the drying crew leaves: replacement notes from the showroom
Once the kitchen is dry and the claim is moving, the job shifts to replacement, and a few things come up nearly every time:
- Bring a door or drawer front. Matching an existing cabinet color and profile is far easier with the real piece than with a photo.
- Replacing one box can affect the counter. Swapping a sink base under granite or quartz may mean lifting the top, which carries a risk of cracking; plan for that possibility.
- Floors run under more than the kitchen. If the same plank continues into the dining room, a patch may not match, and a larger area may need new flooring.
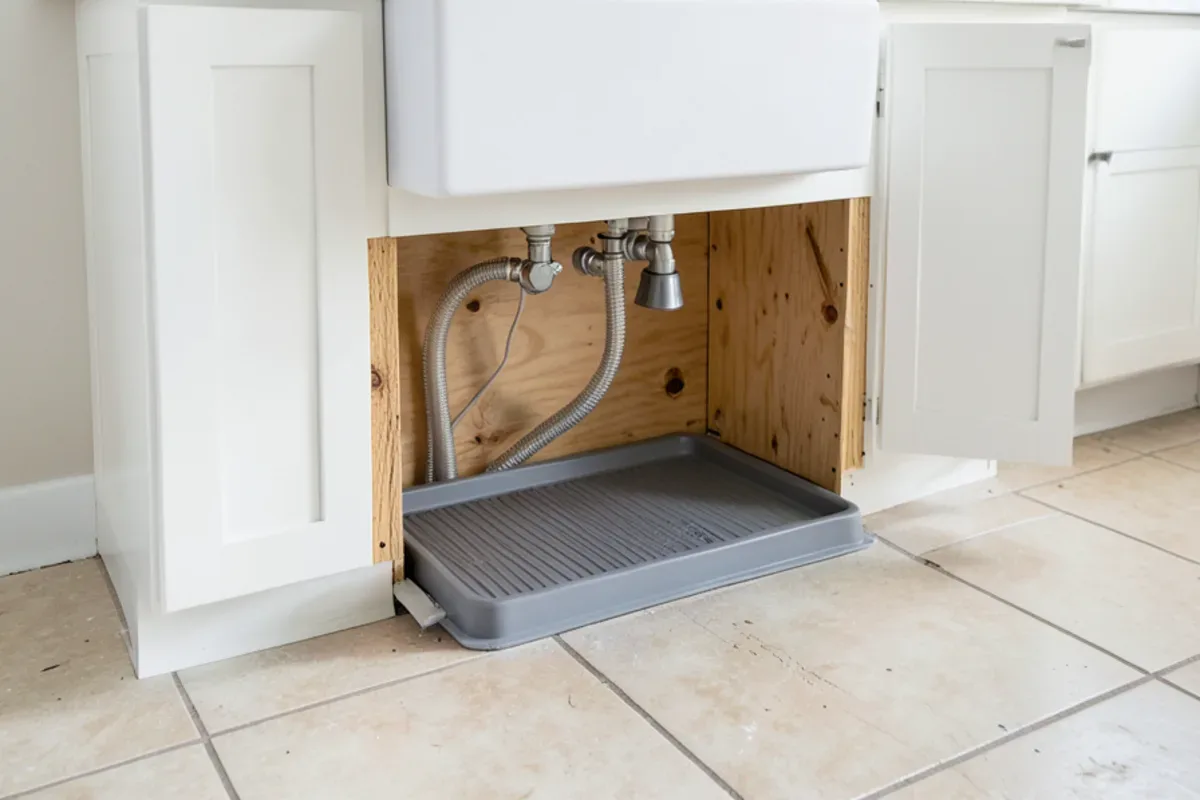
- Upgrade the sink base. A plywood sink base and a leak tray are inexpensive insurance against the next drip.
Where do kitchen leaks start, and how do you prevent the next one?
Most kitchen leaks come from a short list of parts, almost all of them within arm’s reach of the sink. A once-a-year look under the sink and behind the appliances catches most of them before they become a claim.
| Common source | Warning signs | Prevention |
|---|---|---|
| Faucet supply lines | Bulging braid, rust at the nut, damp cabinet floor | Replace aging lines with new braided stainless; replace angle stops that will not turn |
| Dishwasher supply and drain hose | Water at the toe-kick after a cycle, kinked hose | Check the connection behind the kick panel; secure the drain loop |
| Refrigerator ice-maker line | Stain or soft floor behind the fridge | Swap thin plastic tubing for a braided line; pull the fridge out to check yearly |
| Garbage disposal | Drip from the bottom or side of the unit | Replace a leaking disposal; seals rarely repair well |
| Drain trap and slip nuts | Moisture under the trap, odor | Tighten or replace washers; avoid storing heavy items against the trap |
| Sink rim or undermount seal | Water marks in the sink base front | Reseal the rim; check the undermount clips |
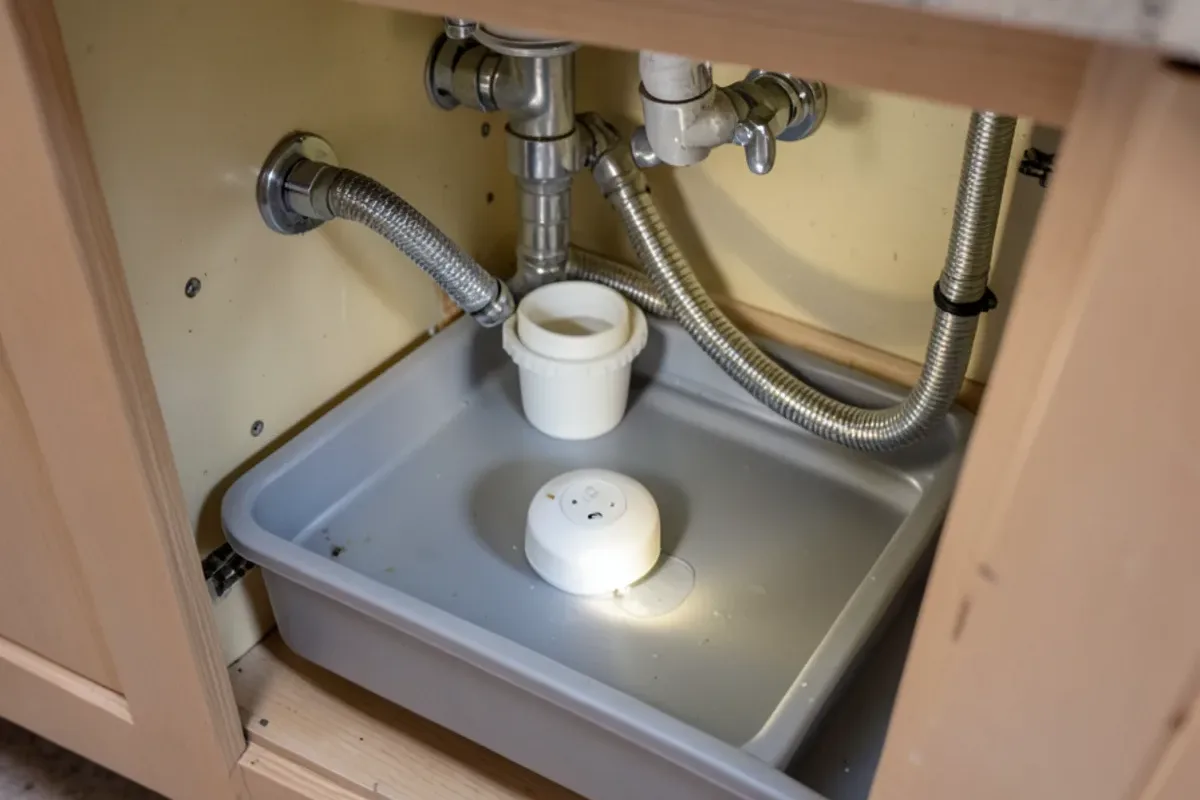
Inexpensive water sensors placed in the sink base and behind the fridge give early warning, and some can close an automatic shut-off valve. Owners who are rebuilding after a leak often add both, along with the plywood sink base and leak tray mentioned above.
Kitchen leaks in Burbank and the City of Los Angeles
In Burbank, about 14 minutes (7 miles) from the showroom, the water meter and main are served by Burbank Water and Power; in most of Los Angeles, LADWP serves the meter. Know where your main shut-off is before you need it. If repairs involve repiping or moving a sink, the plumber pulls the permit from the city that covers your address.
Planning the replacement
When the structure is dry, bring photos, measurements and the adjuster’s scope. The water-damaged flooring and water-damaged cabinets pages explain how replacement materials are chosen and installed on request, and our guide on what insurance covers for kitchen and floor damage explains how to read the scope.
Quick answers
Can swollen particleboard cabinets be dried and reused?
Rarely. Particleboard and many MDF parts swell when they absorb water and stay swollen after drying, which leaves bulging sides, sagging shelves and hinges that no longer hold. Plywood boxes and solid doors stand a better chance. Your mitigation company’s moisture readings and the adjuster’s inspection will decide what is replaced.
Should I run fans myself or wait for a mitigation company?
Start right away with towels, a wet vacuum and fans if the water was clean and the power is safely off in the wet area. Household fans do not reach under cabinets or below flooring, so a professional crew with dehumidifiers and moisture meters is still needed. Tell your insurer what you did and keep receipts.
Where is the shut-off valve for a dishwasher?
Usually under the kitchen sink, as a small valve on the hot water line with a braided or copper line running toward the dishwasher. Some installations put it behind the dishwasher’s lower kick panel. If you cannot find it, close the house main. Test all your kitchen valves once a year so they turn when needed.
Should I keep the damaged materials for the adjuster?
Keep the failed part, such as the hose, valve or fitting, and photograph everything removed. If the mitigation company tears out cabinets or flooring before the adjuster visits, ask them to photograph and measure it and, if your insurer requests, keep a sample. Clear documentation makes the scope easier to agree on later.
Sources
- U.S. EPA: Mold — Guidance on drying water-damaged materials within 24 to 48 hours
- California Department of Insurance — Consumer help with homeowners claims
- Contractors State License Board (CSLB) — Verify plumber and contractor licenses
- IICRC: ANSI/IICRC S500 Standard for Professional Water Damage Restoration — Industry drying and water-category standard used by mitigation companies
About this guide
Written by the team at Adcom Kitchen & Flooring, a kitchen cabinet, countertop, tile and flooring showroom at 13259 Sherman Way in North Hollywood. Rules and figures from outside sources are attributed; confirm current requirements with your building department or the agency named.
Service areas
More on this topic: Fire & Water Damage Repair
Talk to the showroom before you buy
Call with your measurements and photos, or stop by Sherman Way to compare cabinets, counters, tile and flooring side by side.
Adcom Kitchen & Flooring · 13259 Sherman Way, North Hollywood, CA 91605 · Get directions · Showroom hours
- Showroom at 13259 Sherman Way, North Hollywood
- 20 Google reviews
- BBB rating A+
- Cabinets, counters, tile & floors in one place